
I’ve been on a lot of jobs. From your basic unassuming bathroom buildout in a small office building to a mega profile, highly stressful renovation at the West Wing of the White House – I’ve seen just about all of it. Giant custom water-cut mosaics, jaw-dropping 2cm thick Italian Statuario, 4’x8′ thin-gauged panels, tiny hand-picked river rocks, and even your commodity 4 ¼”x4 ¼”s…. I’ve installed it.
And even though all these hard-finished products are vastly different in shape and form, the science behind the bedding procedure doesn’t change – get the stuff to stick!
Do it the right way the first time, and you’ll put ‘em to bed the right way – forever! Look, I understand that a lot of my readers aren’t installers, and that’s okay. It’s important that you know and recognize the right means and methods as you’re walking your projects, because I guarantee that they will serve you well.
Alright, let’s bed these tiles!
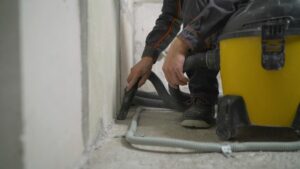
Often overlooked but should not be skipped. Make sure the substrate is vacuumed and wiped down with a clean sponge or towel. Remember, the tile needs to bond to the substrate, so getting it clean should be a priority. Also, get in the habit of wiping down the backs of the tiles as well, to remove any de-bonding agents and foreign contaminants that would impede bonding. Sometimes tiles will have residual kiln release from the firing process that lingers and hangs out on the backs of these tiles – get rid of it.
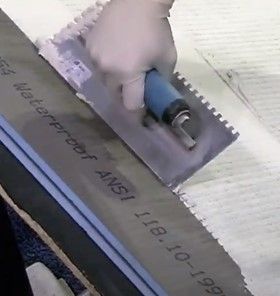
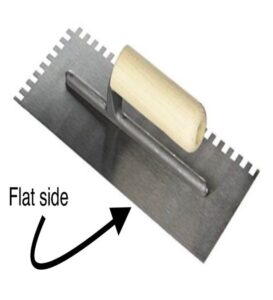
Nope, we’re not talking about fire. I’m talking about the simple act of spreading the thinset, epoxy adhesive, or organic glue into the substrate using the flat side of the trowel. Many installers, including some with years of experience, spread the bonding agent onto the substrate using the notched side of the trowel without burning it in (or keying) first. Burning in the bonding agent helps to promote a stronger and longer lasting mechanical bond to the substrate.
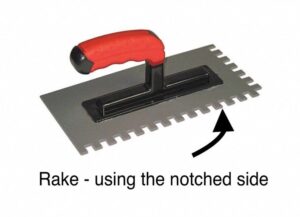
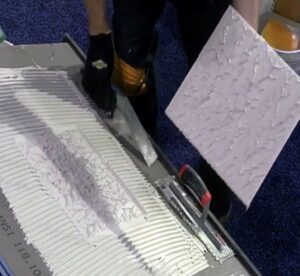
Now, take the notched side of the trowel and comb over the bonding agent to create the ridges. Hold the trowel at a 45-degree angle and evenly rake the area in consistent parallel lines. Do not swirl or create intersections as this technique creates air bubbles and voids in the setting material.
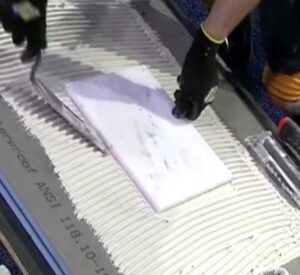
For smaller tiles (6”x6” and smaller) simply place the tile into the mortar bed and tap them with a rubber mallet and a beat block. For larger tiles, eliminate the rubber mallet and beat block…and instead, push down into the mortar bed, then slide the tile perpendicular to the direction of the ridges. This 2-step movement helps to fully collapse the ridges and promotes tremendous mechanical bond.
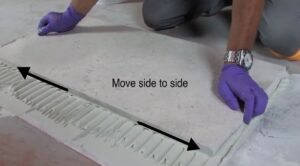
For larger tiles – push down and move side to side (perpendicular to the direction of the mortar).
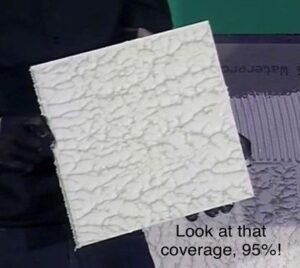
It’s super important to check for mortar coverage on the back of the tiles to ensure that you are getting as close to 100% as possible. For interior dry areas, the TCNA requires a minimum of 80% mortar coverage, and 95% for exteriors and wet environments. In addition, natural stone requires 95% coverage in all areas. It is always a best practice to check for coverage in the beginning of the installation, then every 100 – 200 SF.
Thanks guys, that’s it for me today. Obviously, we’ve only touched on a few aspects of best practices. So, for any additional technical questions, feel free to reach out to me, or anyone else on our QA&T Team.
Until next time…..Ken